|
|
|
|
| The
summer of 2003 - The project halts due to problems with the
soft bended lines of the "nose" |
I made a few tries with different techniques,
but none of them made me satisfied.
|
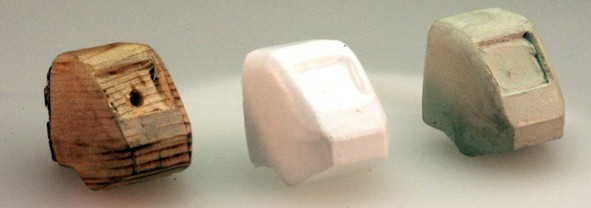
One of
the "noses" on the first mockup - far away from
good :-(((
|
 |
|
|
|
|
|
|
|
|
|
|
| 2003-2004
|
|
|
While
the project was resting there was other upcoming projects,
the construction
of the body of a diesel engine and a
station bulding with an advanced brick patttern.
To solve the challenge with these items I decided to learn
more about how to make photo etched details.
This technique was suiting me fine and the results with the
scratchbuilt engine and the building gave me new ideas how to
continue with the Regina project.
|
|
My
idea was to build the body of the EMU as a frame built
ship and the "nose" sliced to reduce the amount of
bent areas.
In N-scale that would mean many tiny details, some of them
should be bent and then fitted together. To prevent mistakes
with measures on the final sheet I built cardboard models to
check all measurments.
The models were built in scale 1:40 which made it more easy
to cut out things in cardboard |
|
|
|
|
|
|
To
an N-scale modeller a 1:40 model is gigantic
|
|
|
|
|
|
| September
2005
|
|
|
Many
hours was spent at the computer.
I use Corel Draw to make all drawings for the etchings.
The file was prepared for printing with color separations to
acheive the different grades of etching.
|
|
When
everything was ready the files were sent to a service bureau
to make two negative films for the photoetch process which
laters was made by another firm.
After not more than a week I had the new etched sheet on my
workbench |
|
|
|
 |
|
|
| The
original Corel Draw file |
The
final photoetched metal sheet. (A3 format) |
|
|
|
|
|
|
 |
|
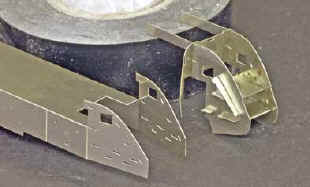
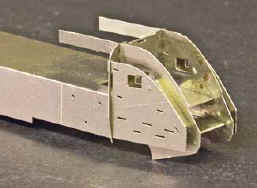
| The
intricate details of the front was made in two blocks |
and
here are the two blocks joined. |
|
|
|
|
|
|
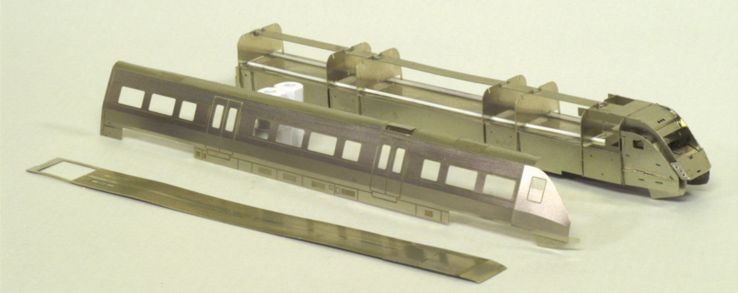
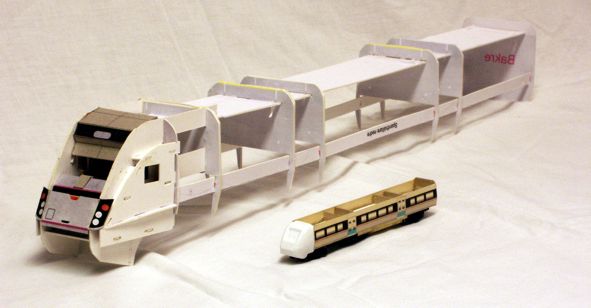
The main parts
of the EMU body,
the framework, one of the wagon sides and the roof
|
|
|
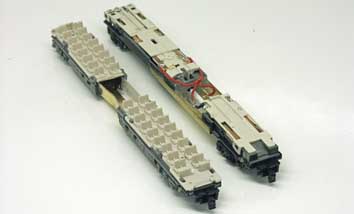
The
both wagons while testing the fitting of the roof details
|
|
|
|
|
|
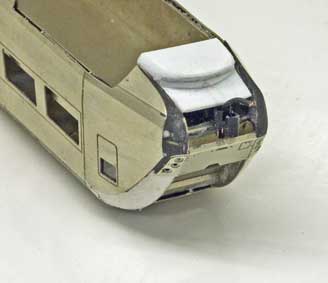
While building the bodys this way, the bent areas was reduced
to a couple of very small areas in the front. I used small
pieces of air drying clay (Das Pronto) to form the areas
|
|
After drying, the areas was sanded to form an almost correct
smooth area. |
|
|
|
|
|
|
|
 |
 |
|
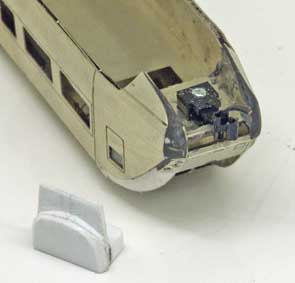
The plow on the underside of the front is made of styrene
sheet which are glued togheter and then grinded to get the right
shape.
|
Micro Train couplings are fitted at the front ends of the
EMU |
|
|
|
|
|
|
 |
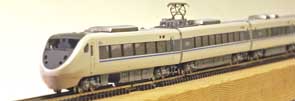
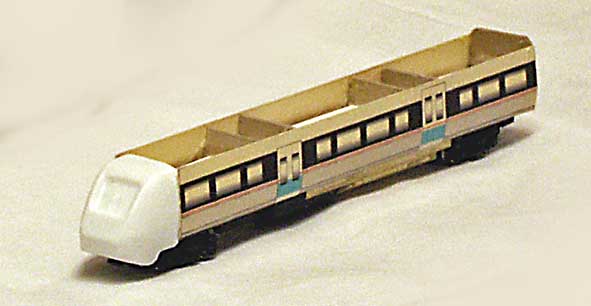
The Kato JR 681 Thunderbird train
|
The
two extended chassis, one motorized and one dummy.
They are made from Kato chassis which are cutted and then
extended to fit to this rather long EMU.
|
The extension of the motorized Kato 11-102 chassis is
described in part two of
this article.
The dummy chassis comes from a Kato Thunderbird train
which is extended in a similar way. |
|
|
|
|
|
|
 |
|
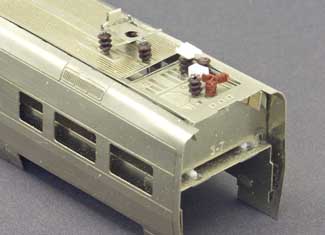 |
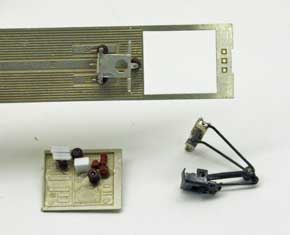
Some roofing details.
|
|
The patterned details are from the etched sheet.
The isolators are from a set of Sommefeldts isolators and
the pantograph is picked from a scrapped loco.
|
|
|
|
|
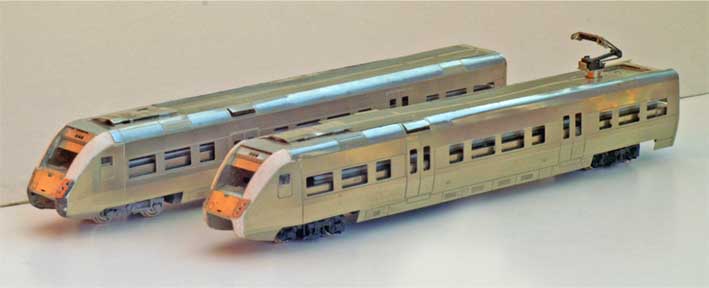
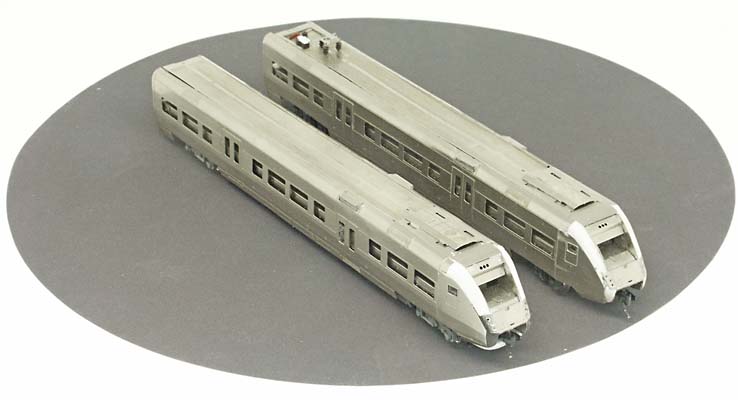
November
2005
Another picture of the two wagons side by side.
|
|
|
|
|
|
|
|
|
|
 |
|
|
|
|
|
Next
chapter, painting --->
|
|
|
|
|
|
 Top
Top
|
|
